Thursday, May 1, 2014
Roses - and a bit of a rooting tutorial
Last year my friend and I took cuttings of many heirloom roses. She showed me a great method of rooting cuttings. I've since tried it with figs and mulberries, too. It works incredibly well and is very easy and low-maintenance (a must around here!).
All you need is a plastic ziploc bag and some potting soil. The bag can be any reasonable size. I've used the sandwich ones and also gallon size. The important thing is that it can be sealed.
- Put 2-3 inches of potting soil in the bottom of the bag.
- Cut cuttings (for roses, about 3-4 inches), and strip off bottom leaves. Poke the ends into the soil in the bag.
- Add a little water, but not too much. You just want it to be moist, not damp. The only cuttings I took that didn't start were because I added too much water.
- Gently blow in some air into the bag and seal it so that it has a pocket of air. It will create a little rain forest-like environment.
- Leave it be for several weeks, either inside near a window, or outside somewhere sheltered from temperature extremes. I occasionally check on them and blow more air into the bags.
- After about three weeks I start checking the bottom of the bag to see if roots have formed. When I can see a lot of roots, I pot them up, tearing the sides of the plastic bag so I won't disturb the root system too much. I put about three cuttings in each gallon bag, and only one or two in the sandwich size. Two was a little crowded.
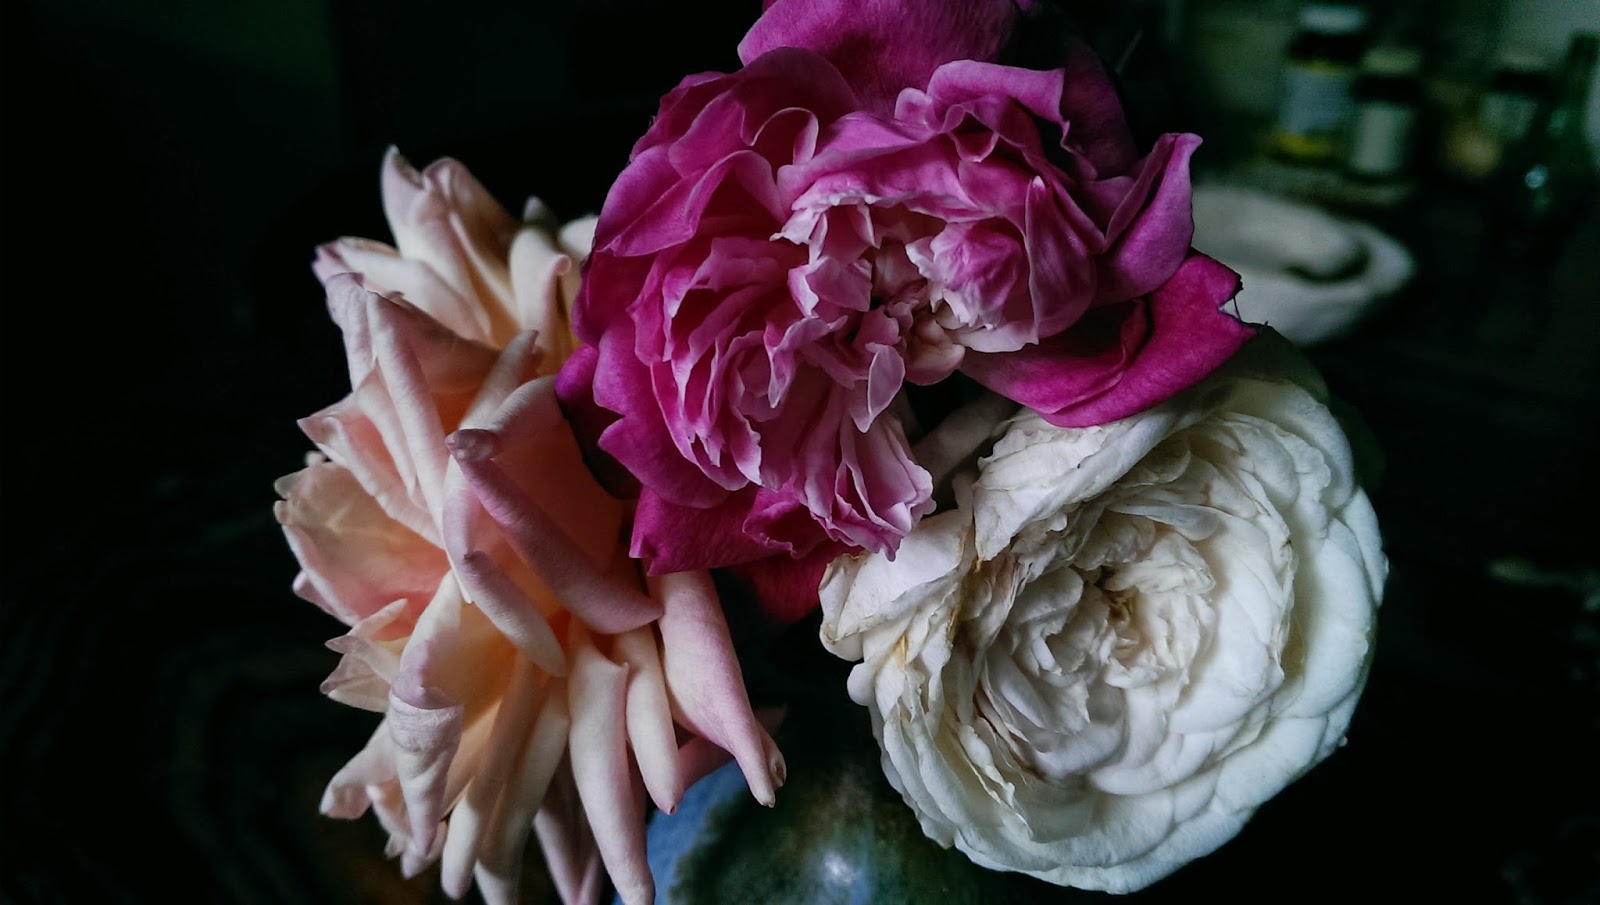
My roses have grown into 2-gallon pots now, and are blooming this spring. It's been so fun to see what they are when they finally bloom. Unfortunately, I didn't take notes or anything when I was taking the cuttings, so I have no idea which they are, except the St. David roses that are from my rose bush I already have.
Subscribe to:
Post Comments (Atom)

No comments:
Post a Comment